Navigate to the upper left + icon to bring up the quick menu to find the Session Manager

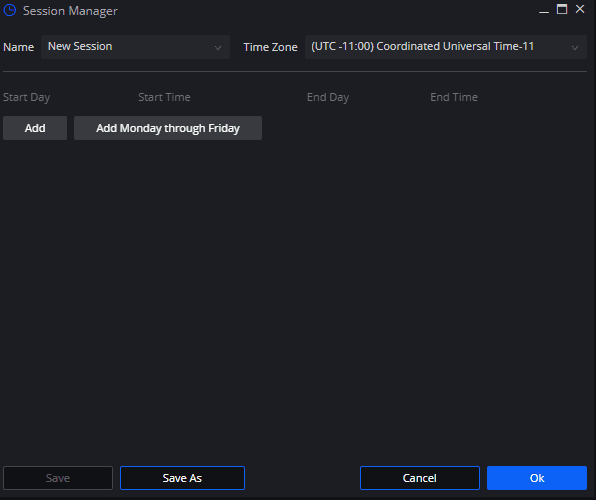
Once opened you’ll be able to find the default Session Manager Menu
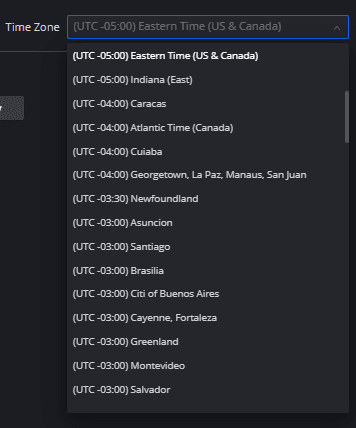
Adjust the Time Zone of the session template by clicking the drop down menu accordingly and choose your time zone or the one you prefer to monitor
The next step would be to begin adding in the days and times for the week
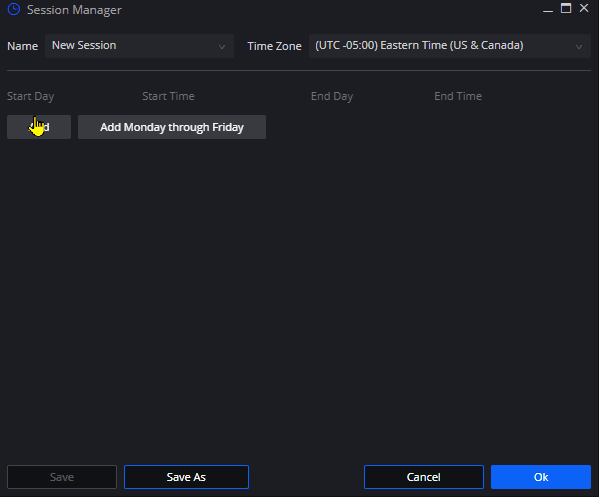
you should be presented with the default start and end day’s as well as time
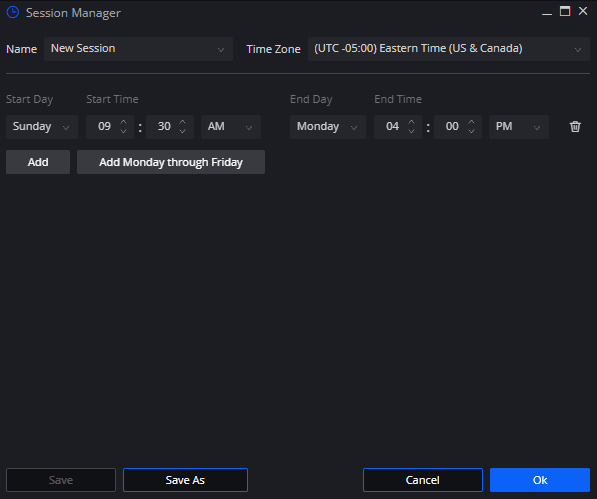
Once you’ve customized the first day and time you can quickly add the remaining days of the week with the Add Monday through Friday button
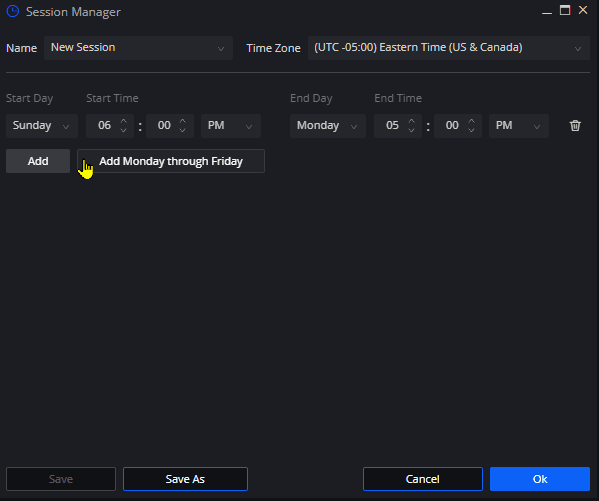
This should allow you to quickly replicate the First day and time you’ve set up to get you on your way saving this template
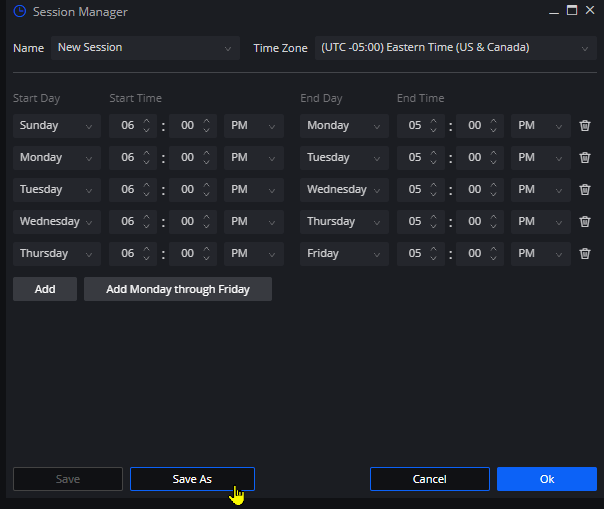
This separate pop up should be available to save and have your new session template at the ready to apply across the various studies, charts and DOMs