Navigate to the upper left of your main screen and left click to bring up the Time Zone quick menu
![](https://b3421171.smushcdn.com/3421171/wp-content/uploads/2023/12/image-28.png?lossy=1&strip=1&webp=1)
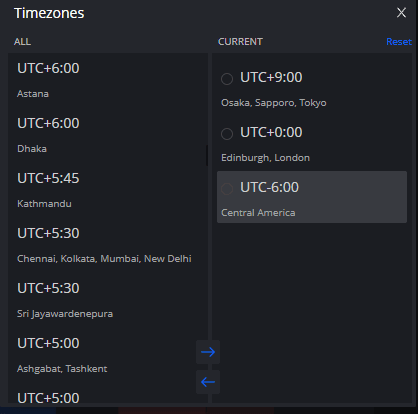
Click to Add Time Zone to open the manager
![](https://b3421171.smushcdn.com/3421171/wp-content/uploads/2023/12/image-29.png?lossy=1&strip=1&webp=1)
Choose the Time Zones you’d like access to from the quick menu by either double clicking or utilizing the arrows to move them over
![](https://b3421171.smushcdn.com/3421171/wp-content/uploads/2023/12/image-30.png?lossy=1&strip=1&webp=1)
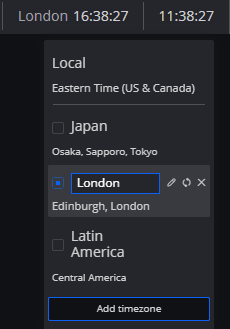
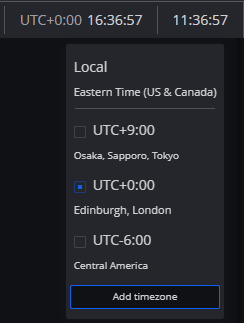
Going back into the quick menu we can see the 3 added Time Zones
![](https://b3421171.smushcdn.com/3421171/wp-content/uploads/2023/12/image-31.png?lossy=1&strip=1&webp=1)
You can have 1 additional Time Zone active from the quick menu
![](https://b3421171.smushcdn.com/3421171/wp-content/uploads/2023/12/image-32.png?lossy=1&strip=1&webp=1)
Hover over each Time Zone to edit or reset a custom name that will appear alongside the current displayed time of that Time Zone and even remove entirely from the quick menu
![](https://b3421171.smushcdn.com/3421171/wp-content/uploads/2023/12/image-34.png?lossy=1&strip=1&webp=1)